Jolian
 March 14,2024
In the pursuit of maximizing airdrops, ClonBrowser Anti-detect Browser presents a series of articles to help Web3 users expand their reach, enhance operational efficiency, and reap greater profits.
Today, we will delve into the fundamental principles vital for successful Web3 airdrop campaigns: managing and maintaining the trio of Google Mail (Gmail), Twitter, and Discord accounts.
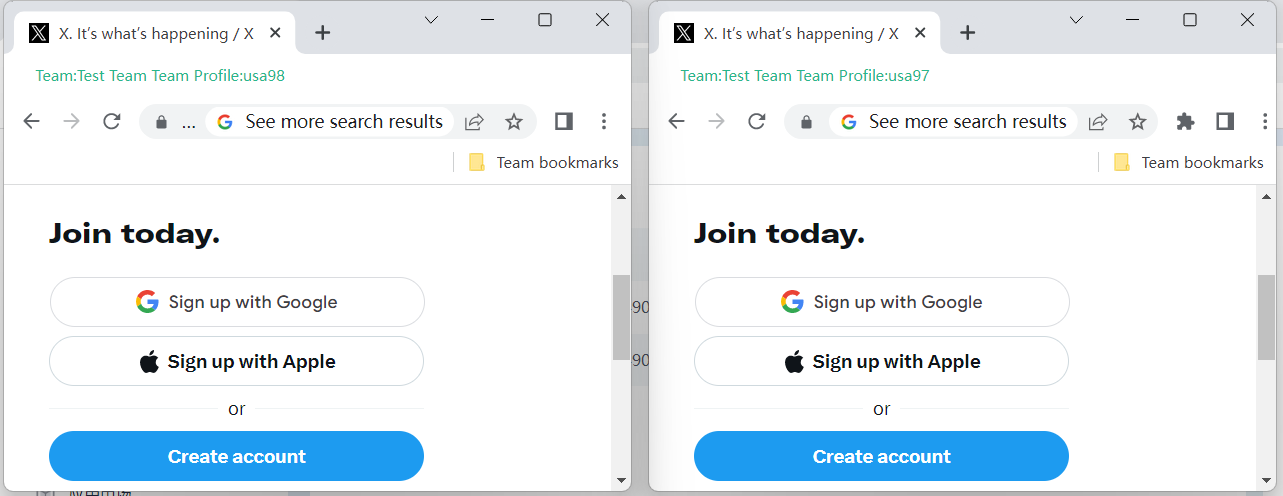
The trio refers to the accounts on Gmail, Twitter, and Discord platforms. Gmail is utilized for registering accounts on other platforms and receiving verification information from Web3 projects. Twitter keeps users updated on project announcements and provides insights curated by influential figures. Discord serves as a platform for account verification by project teams and the execution of Web3 tasks. These three accounts act as the identity proof for Web3 users engaging in airdrop operations. To conduct a larger number of airdrop campaigns, it is essential to possess multiple sets of the trio. As the Web3 community continues to grow, the number of accounts increases exponentially. In such a scenario, having stable and active accounts for the trio becomes crucial for airdrop operations.
However, managing a large number of accounts and passwords and keeping them active can be a challenge. This is where ClonBrowser Fingerprint Browser comes in. Let’s explore the methods it employs to achieve these four effects.
Firstly, batch creation of profiles. In ClonBrowser, open the [Browser] page and click on [Batch Creation]. You can also create profiles individually by clicking on [New Browser] following the same process. Choose the [Custom Mode] for enhanced flexibility. Then select the kernel version. Our latest version is based on Chromium Stable Version 122, and you can choose according to your requirements. Next, select the operating system. You can also enable sync settings for convenient operations across multiple devices. Finally, open the specified URL. Based on your usage habits, you can input frequently used Web3 airdrop task platforms, allowing direct access during each profile launch.
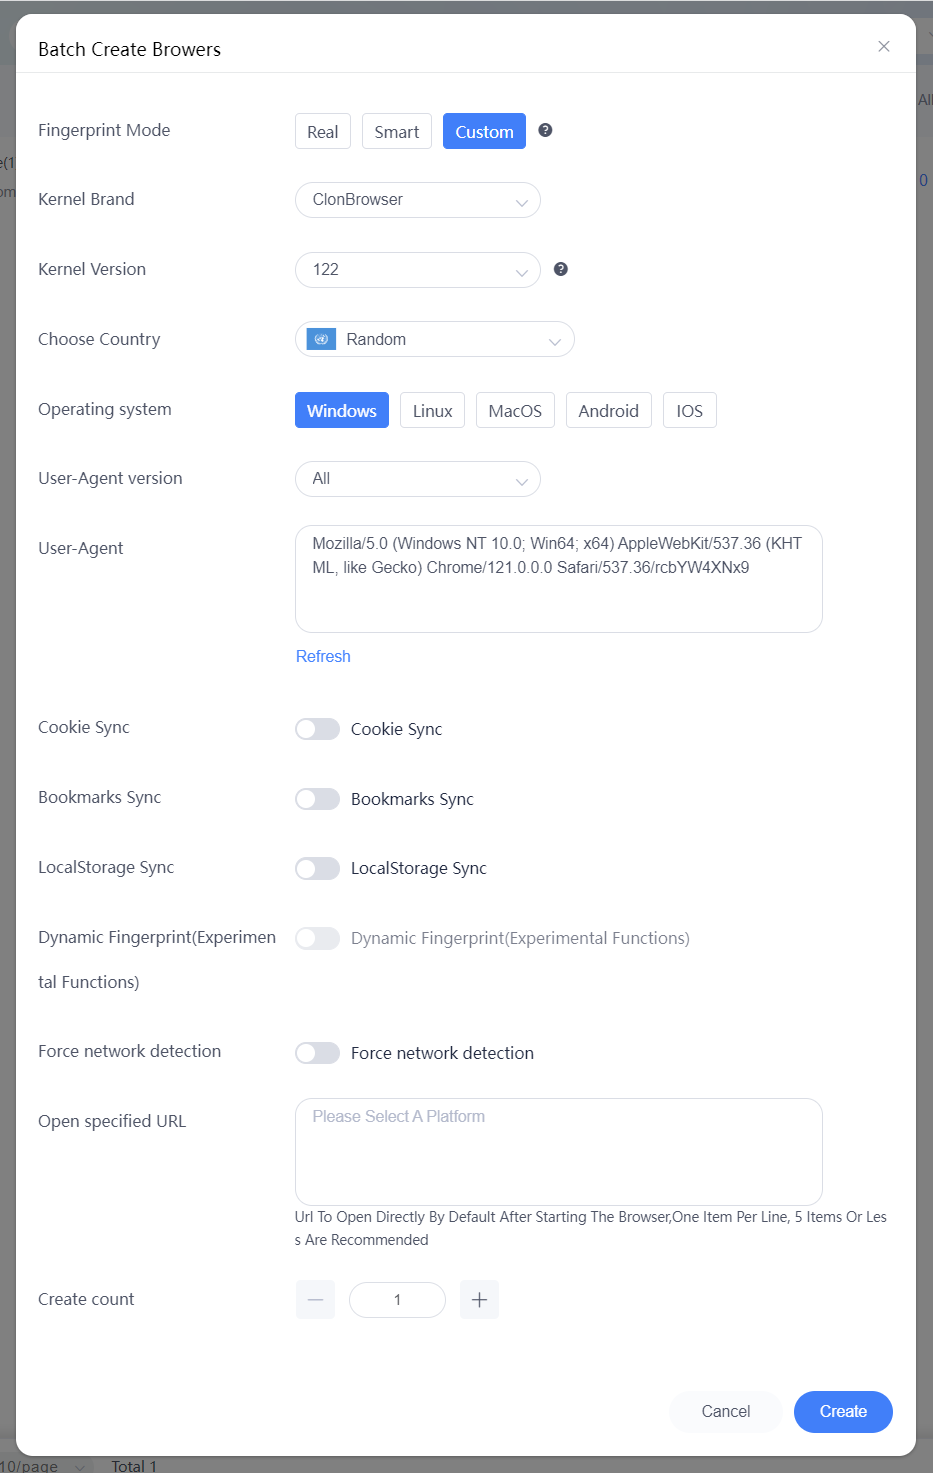
Similar to profiles, grouping a large number of proxies with profiles allows for easier management. Then, return to the [Browser] page and click on [Set Proxy]. This way, the browser profile is complete, and each profile has an independent environment with protected data.
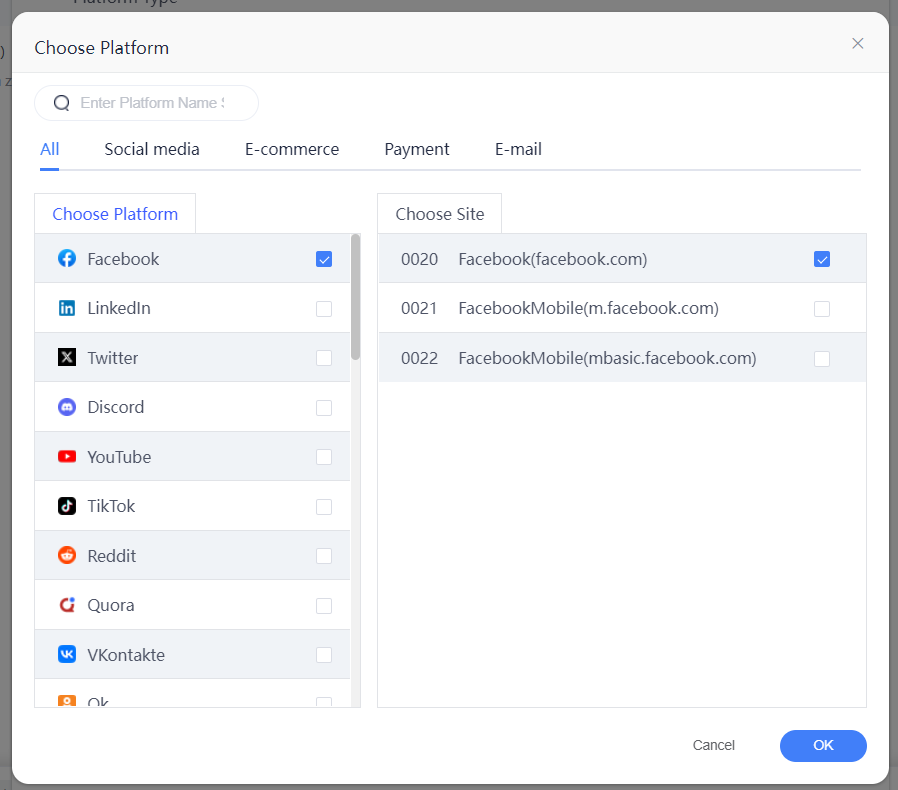
Next, let’s set up the account information for the trio. Select the profiles in batch, click on [Export Templates] – [System Platform Account], and choose the corresponding platform. You can directly select Gmail, Twitter, or Discord from the list. If it’s a web3 platform that is not listed, choose [Custom Platform Account] during the export and enter the corresponding website URL.
Taking Gmail as an example, after exporting the template, enter the login information. Pay attention: It’s recommended to have an auxiliary email for Gmail to facilitate verification and recovery. You can place the auxiliary email in the alias for easier management. Once the information is entered, save the file and click on [Batch Import] to upload it.
Platform accounts can also be added individually during subsequent usage. Click on Customize Display Column, check [Account], and save. This way, you can directly see the account binding status in the displayed columns, and you can click on the plus sign to add new accounts.
Once the account information for the trio is added, the profiles are considered set up, and you can automatically log in without having to manually enter the account credentials in the future.
Furthermore, you can utilize our group control feature for batch registration. Start by opening two or more profiles and click on [Group Controls] – [Browser Syncer]. Adjust the windows as needed and perform operations in the main profile located in the top-left corner. The other profiles will sync the operations accordingly. This will improve operational efficiency.
However, the process is not yet complete! The trio requires regular browsing to maintain activity, and this is where RPA (Robotic Process Automation) scripts come in handy for performing large-scale operations. Click on [Group Control] – [RPA]. First, select the desired script from the [Market], such as “Gmail View Mailbox,” and click on [Get]. Each browsing script completed for an account will generate a screenshot, which you can check in the designated folder to detect any account anomalies. Before saving the script, you can [Debug Run] to see if it meets your requirements. After clicking [Save], you will see the script on the [Scripts] page. Click on [New Schedule]. Fill in the plan name, select the script to execute, and the browser. Choose the execution time for the plan. You can select “Loop Execution” to have the script run periodically. After clicking [Save], the plan will execute according to the set parameters.
You can check the execution status of the plans on the [Schedule] page. And for repetitive plans, you can clone them without the need for reconfiguration. On the [Wallet] page, you can check the points consumed by each schedule execution. If you have further requirements or inquiries about the scripts, you can directly contact the staff for assistance.

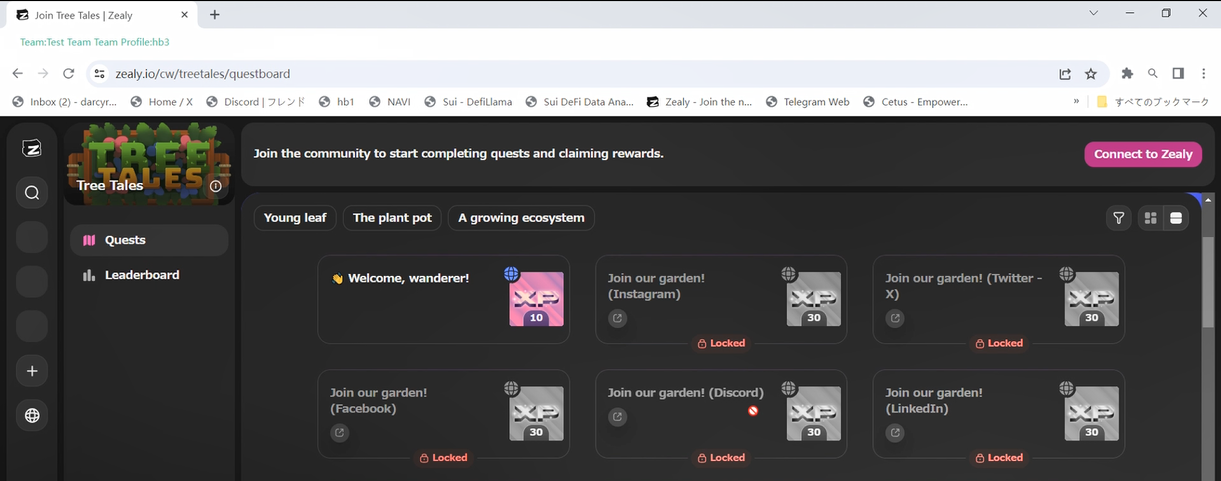
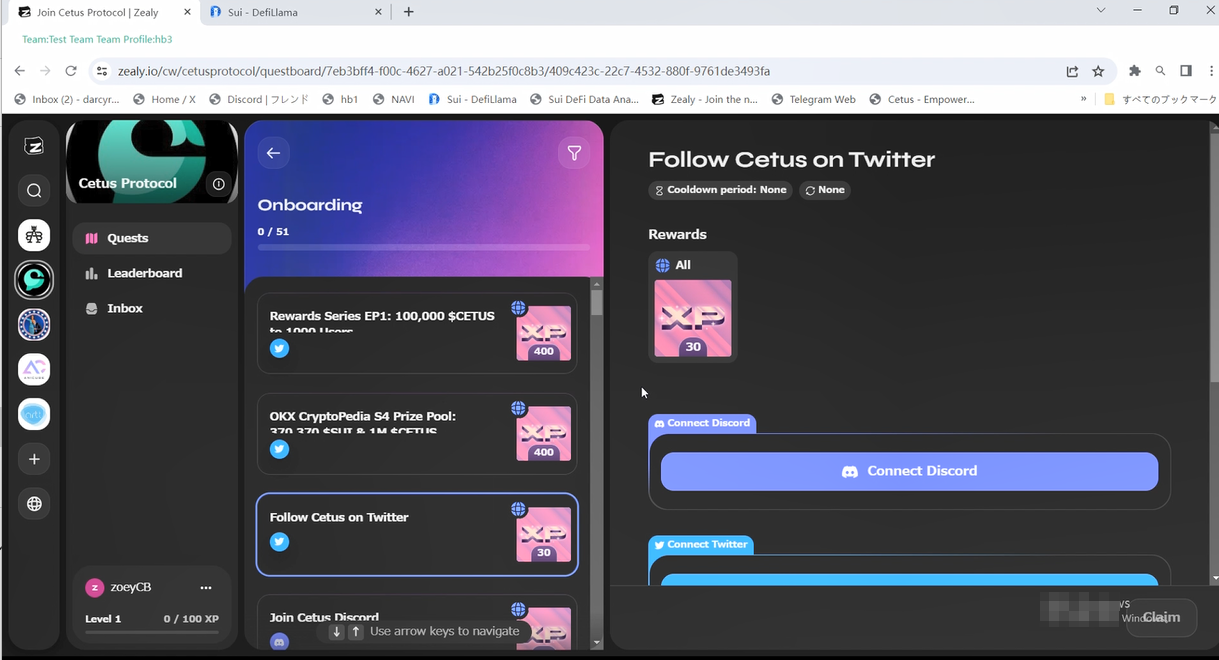
Once you have the trio set up and well-maintained, your operations in Web3 projects will become much smoother. For instance, when searching for project tasks on Zelay, most of them require interaction through platforms like Twitter or Discord. Simply click on the links, and you will be automatically redirected. Once you enter these platforms, you can claim rewards, complete tasks, and earn experience points.
In the next artical, we will delve into how to leverage ClonBrowser’s group control feature to efficiently tackle Web3 tasks in bulk.
Cast a wide net and reel in more fish. ClonBrowser, the anti-detect browser, is your essential tool for monetizing your Web3 ventures.