Jolian
 January 20,2026
This document will guide you through the process of using a proxy from 711Proxy in ClonBrowser.
Step 1 – Proxy Preparation
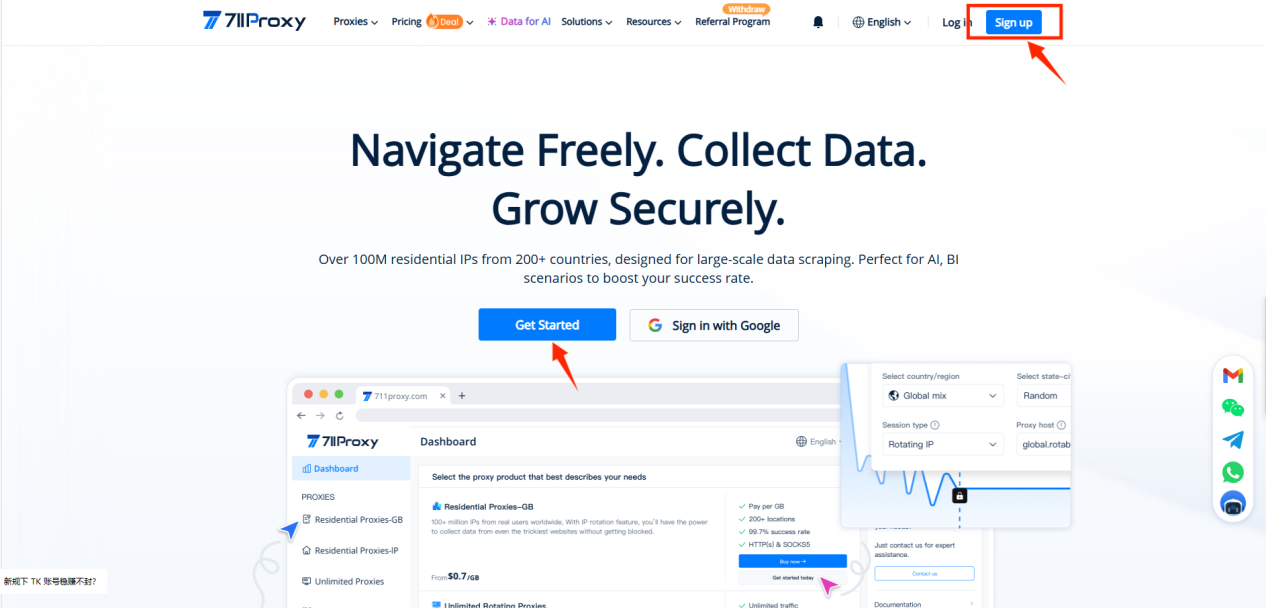
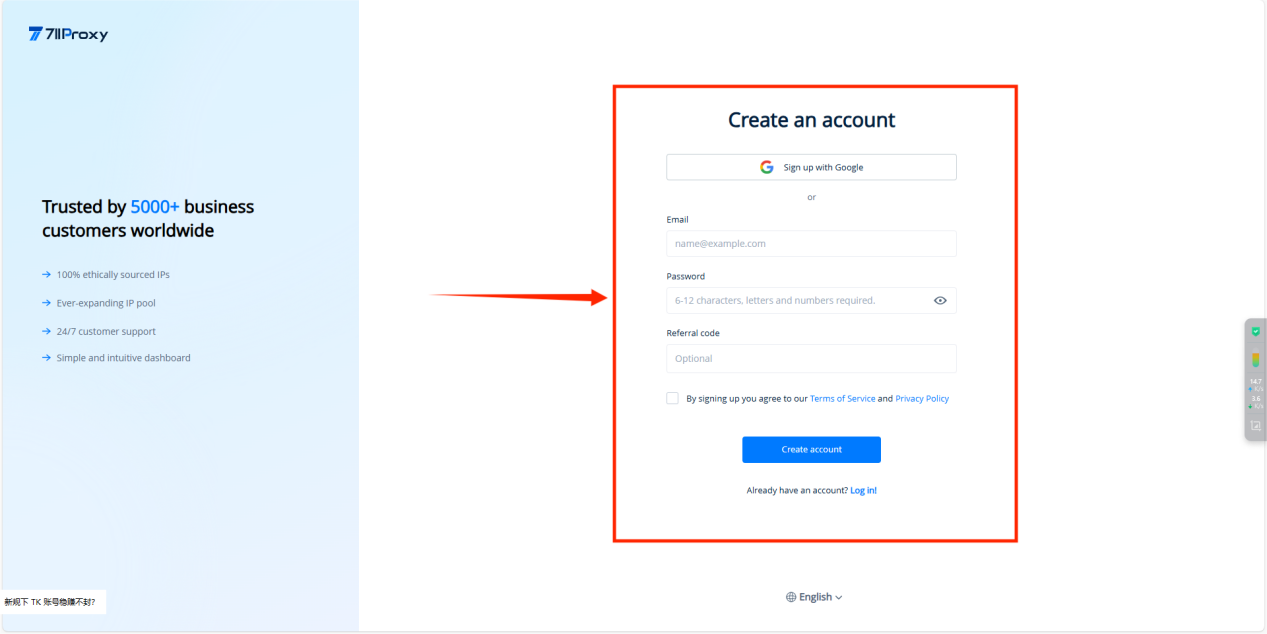
- Go to the official : 711Proxy website.
Register an account: enter your email and set a password.
If you already have an account, simply log in.
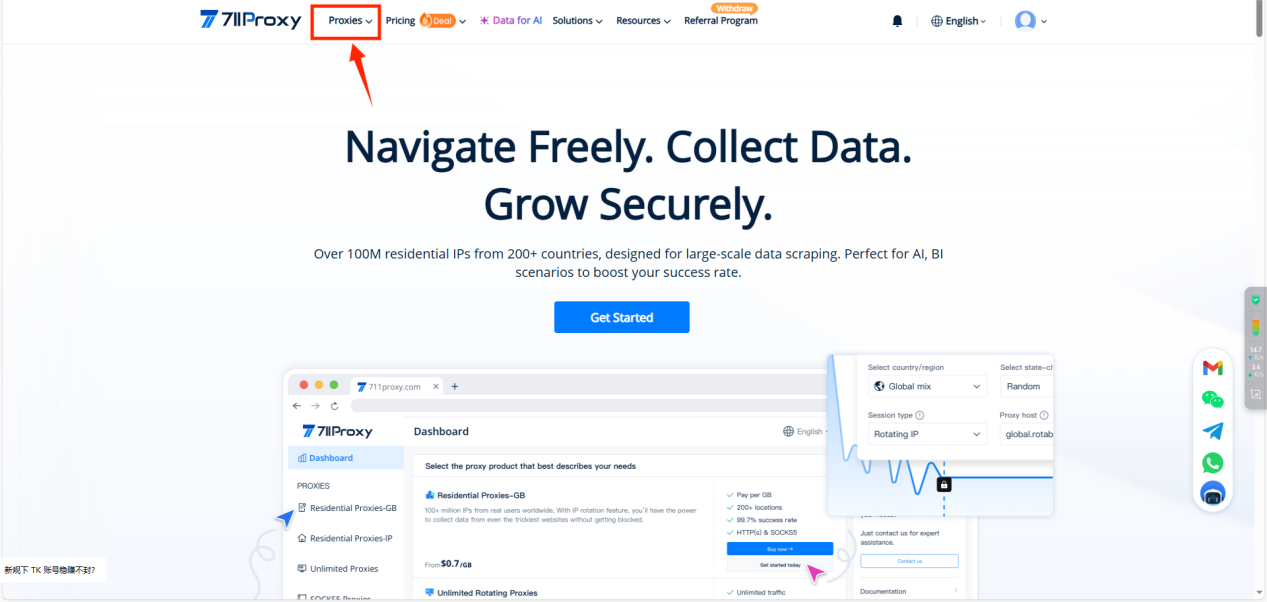
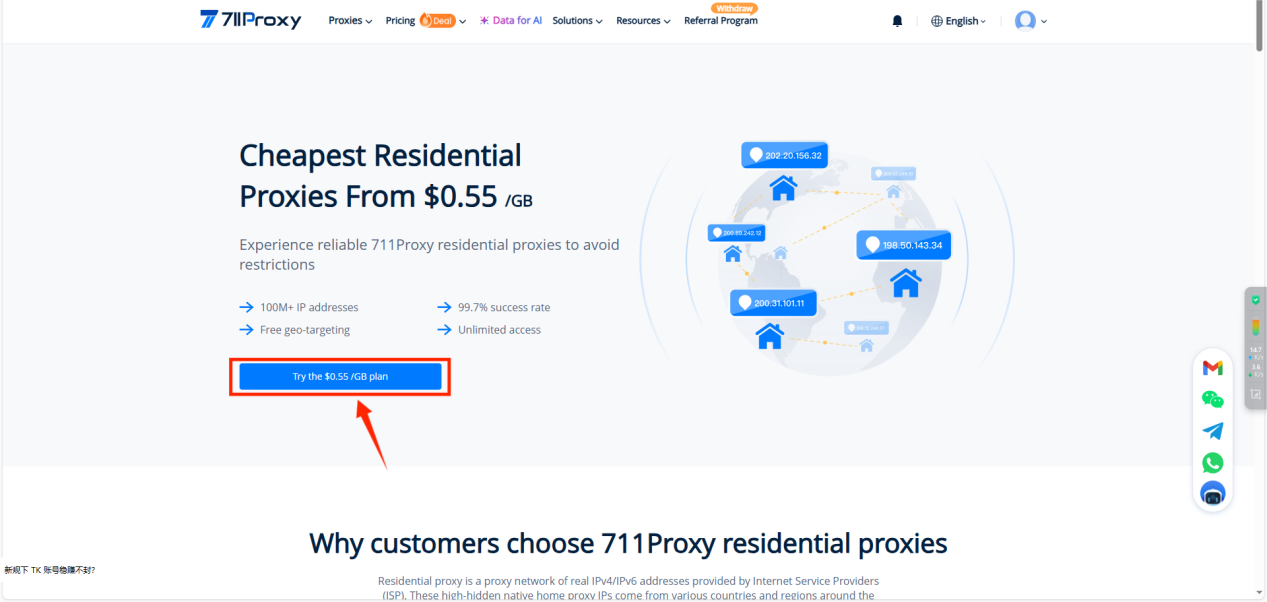
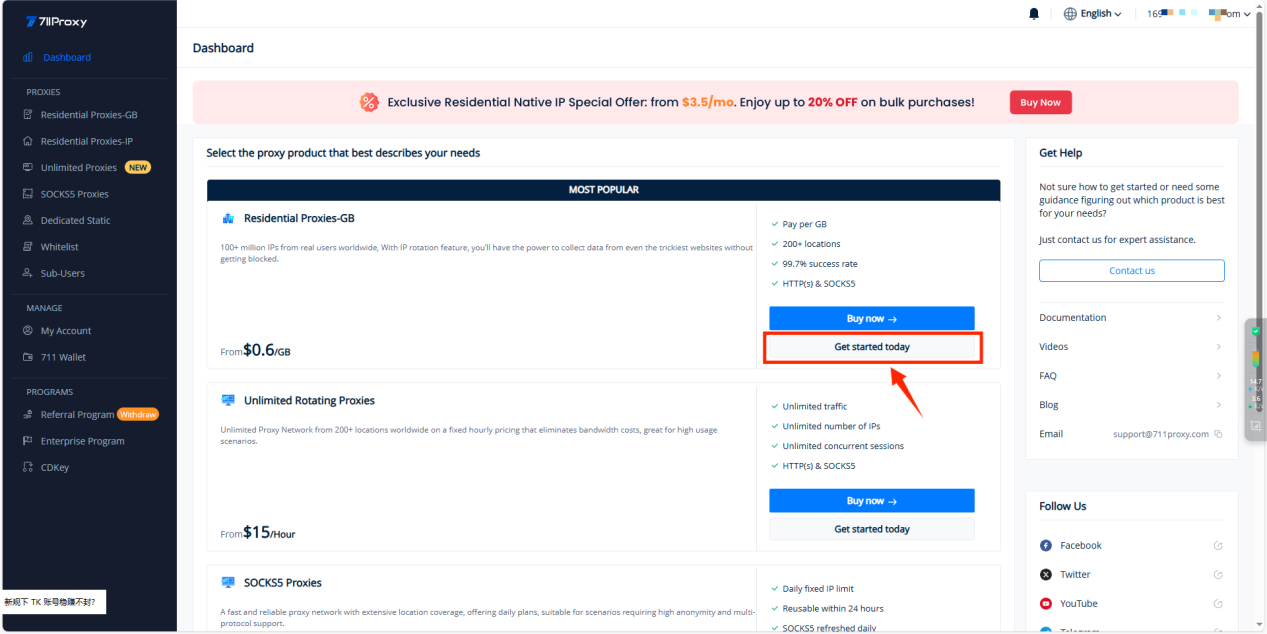
- After logging in, go to the【Proxies】tab on the official website and select the proxy service type you need.
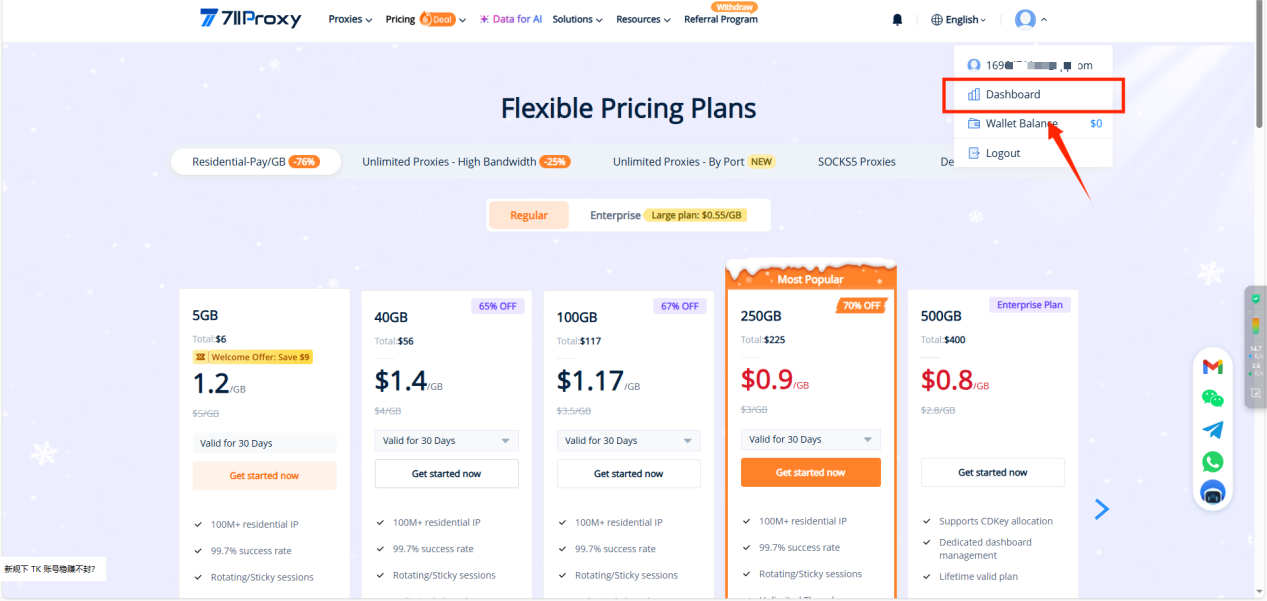
3.After the purchase is completed, click on【Dashboard】to enter the proxy configuration page.
Step 2 – Configure Your Proxy
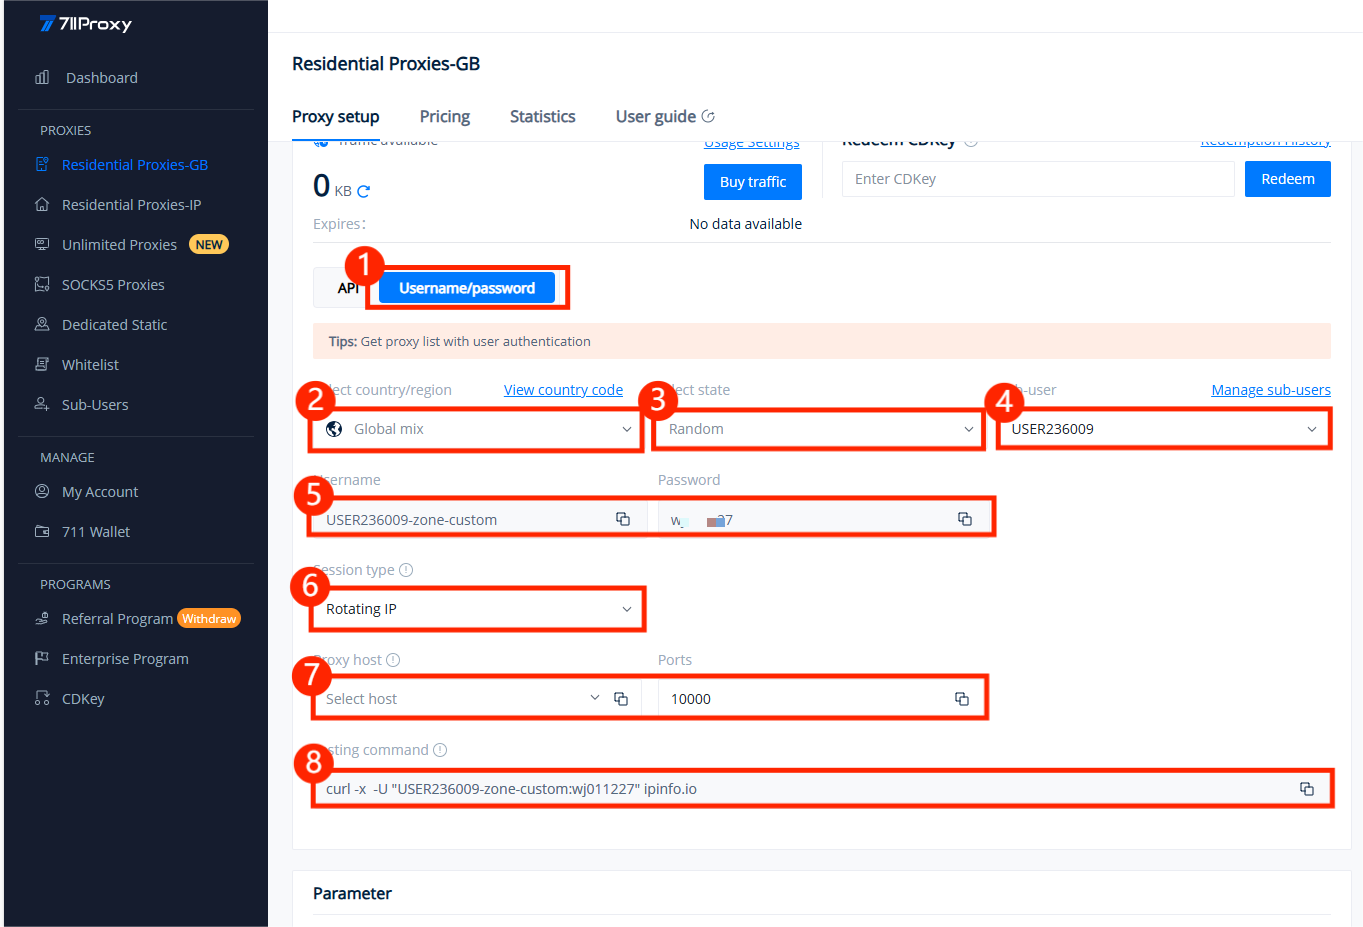
We support residential proxy authentication via API (IP whitelist) or username/password.
Taking user/pass auth as an example, you need to select:
Your target country/region (or random location),the sub-user that will access the proxy,session type,proxy host and port.
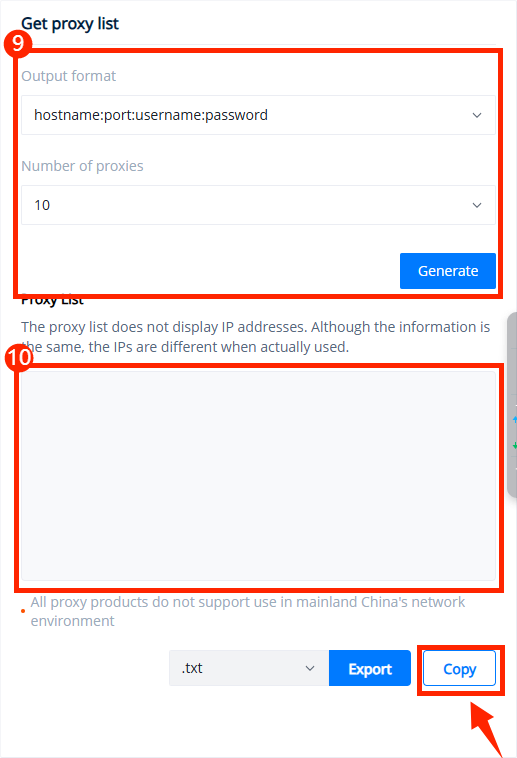
In the “Get Proxy List” section on the right, you can set the number of proxies you need and click the “Generate” button.
Step 3 – Set Up in ClonBrowser
- Open ClonBrowser and click the “New Browser” button.
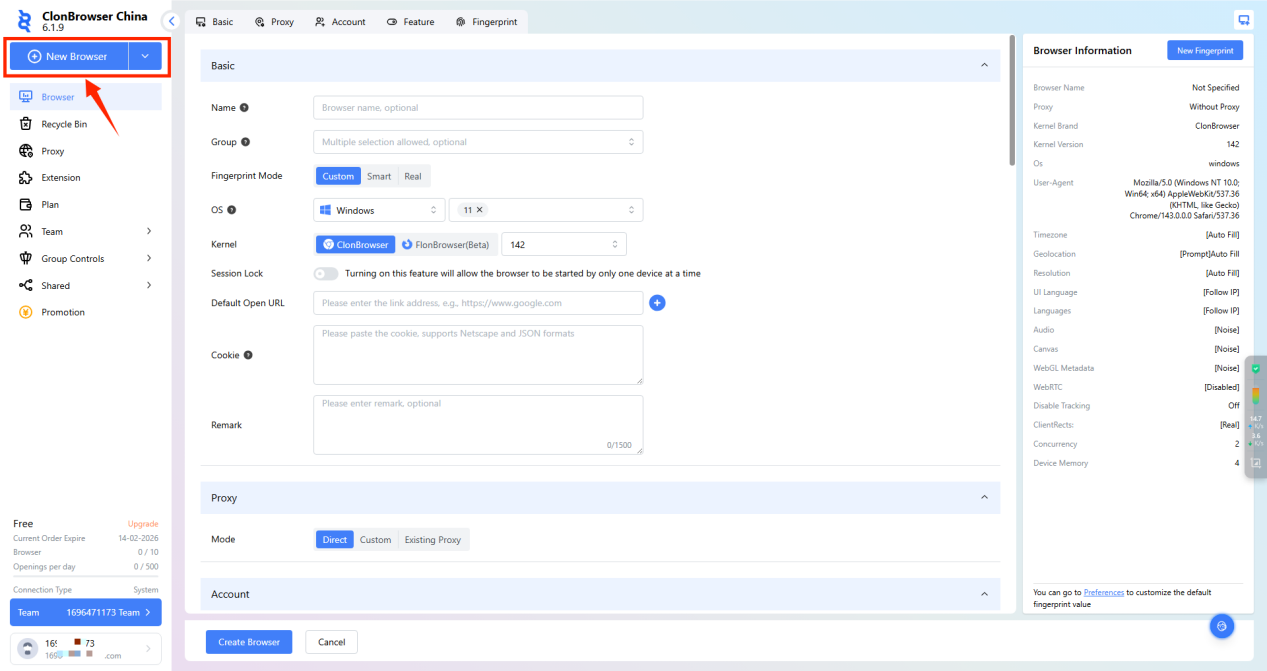
2.Configure your proxy using the parameter information (host, port) provided by 711Proxy.
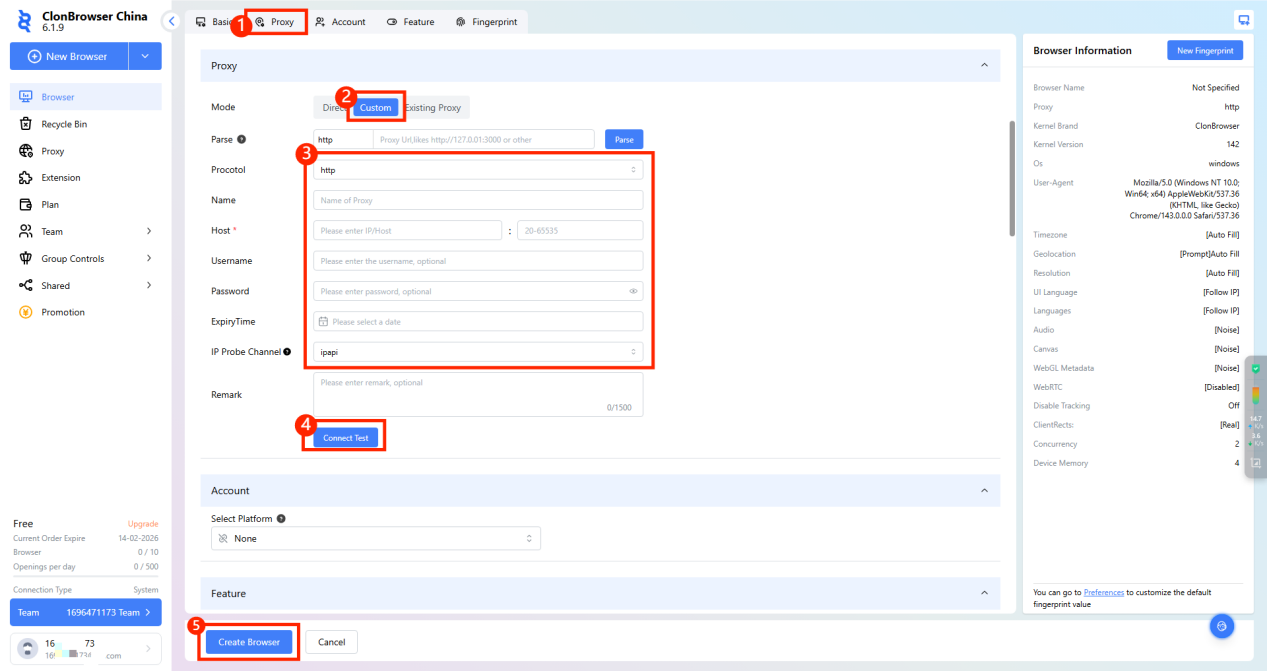
Once you have filled in the information, click “Create Configuration” to complete the browser setup.
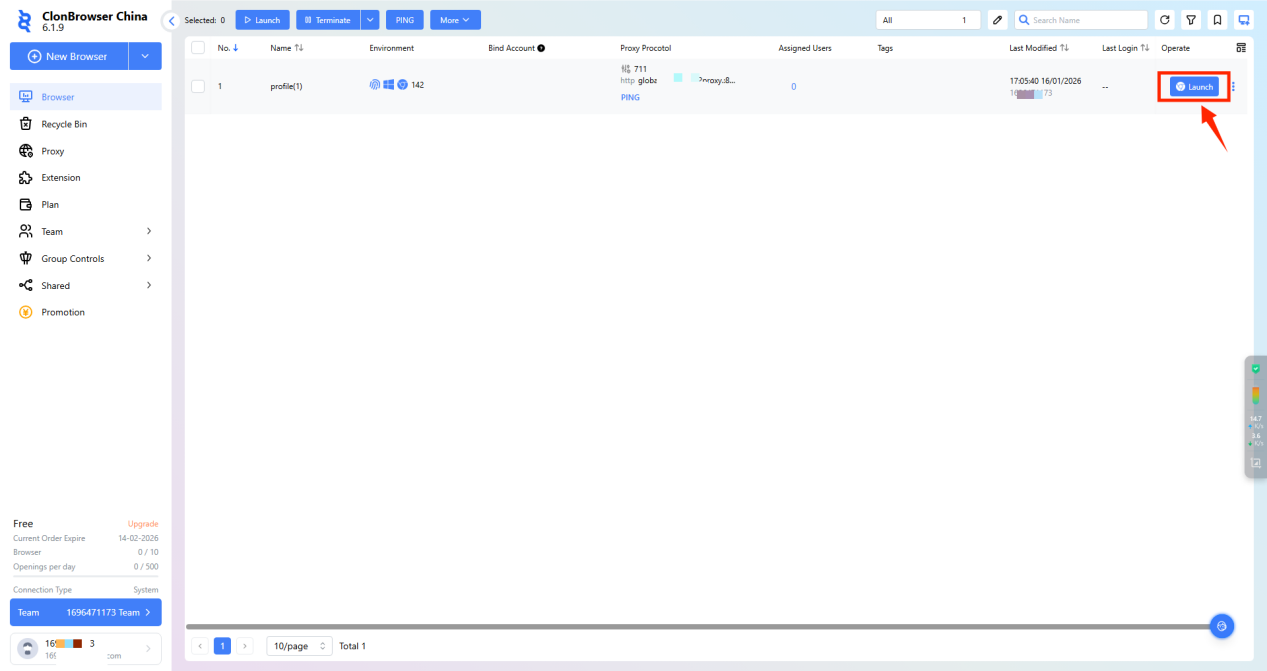
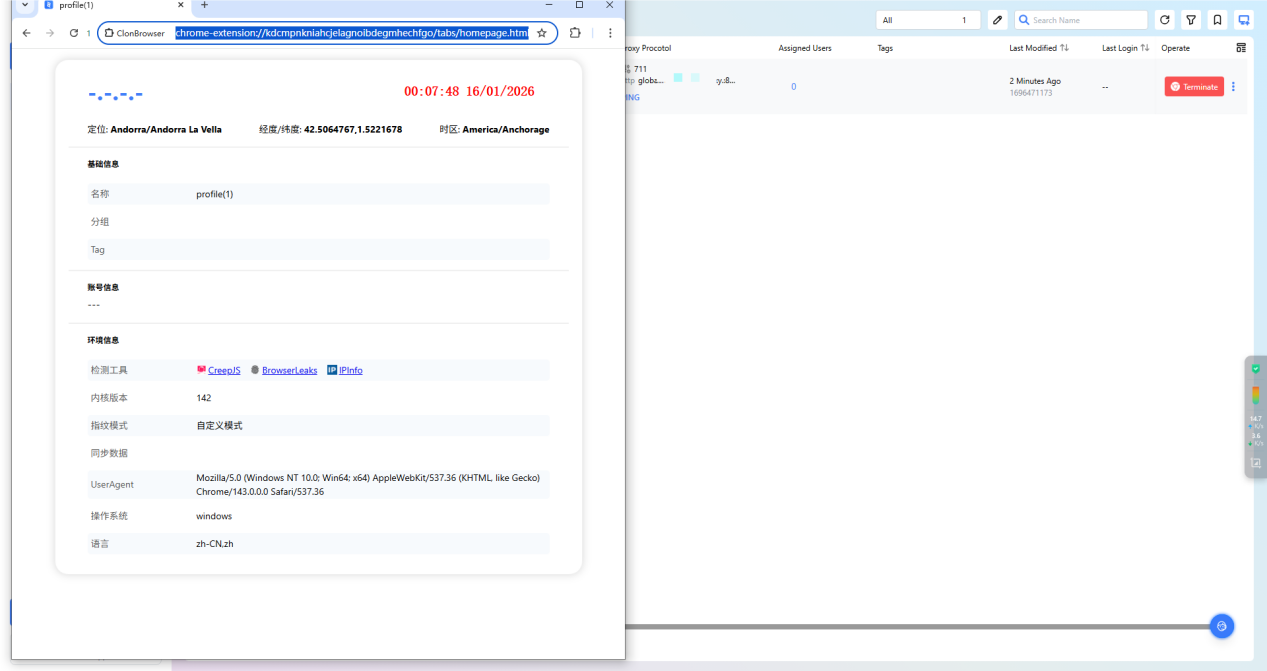
3.Return to the browser page and click theLaunch button to start using it.