How to use ClonBrowser#
This guide is for first-time ClonBrowser users
Step1 Register, Download & Install#
-
Go to the ClonBrowser official website to register a free account.
-
Download the installer for your operating system and complete installation.
-
After installation, launch ClonBrowser and log in to your account.
Step2 Create Your First Browser Environment#
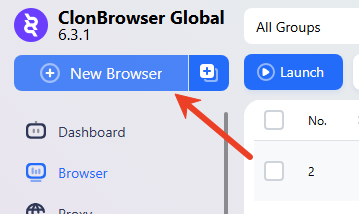
Click the 「New Browser」 button in the top-left corner of the main interface.
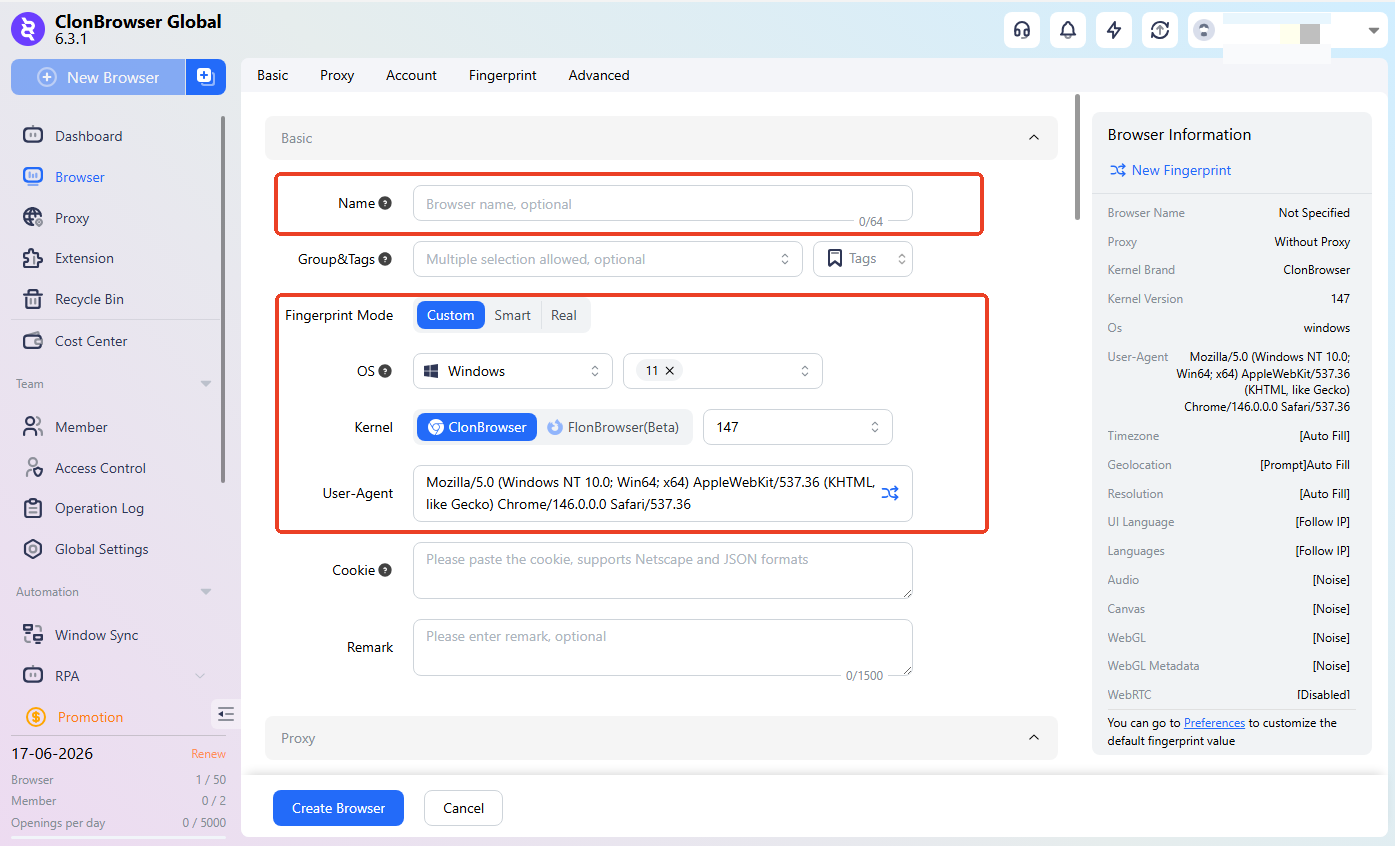
- Basic Settings Set an easily identifiable environment name (optional, e.g.,
AMZ 01,TK-US-01). Environment basic parameters (keep default unless you have specific needs).
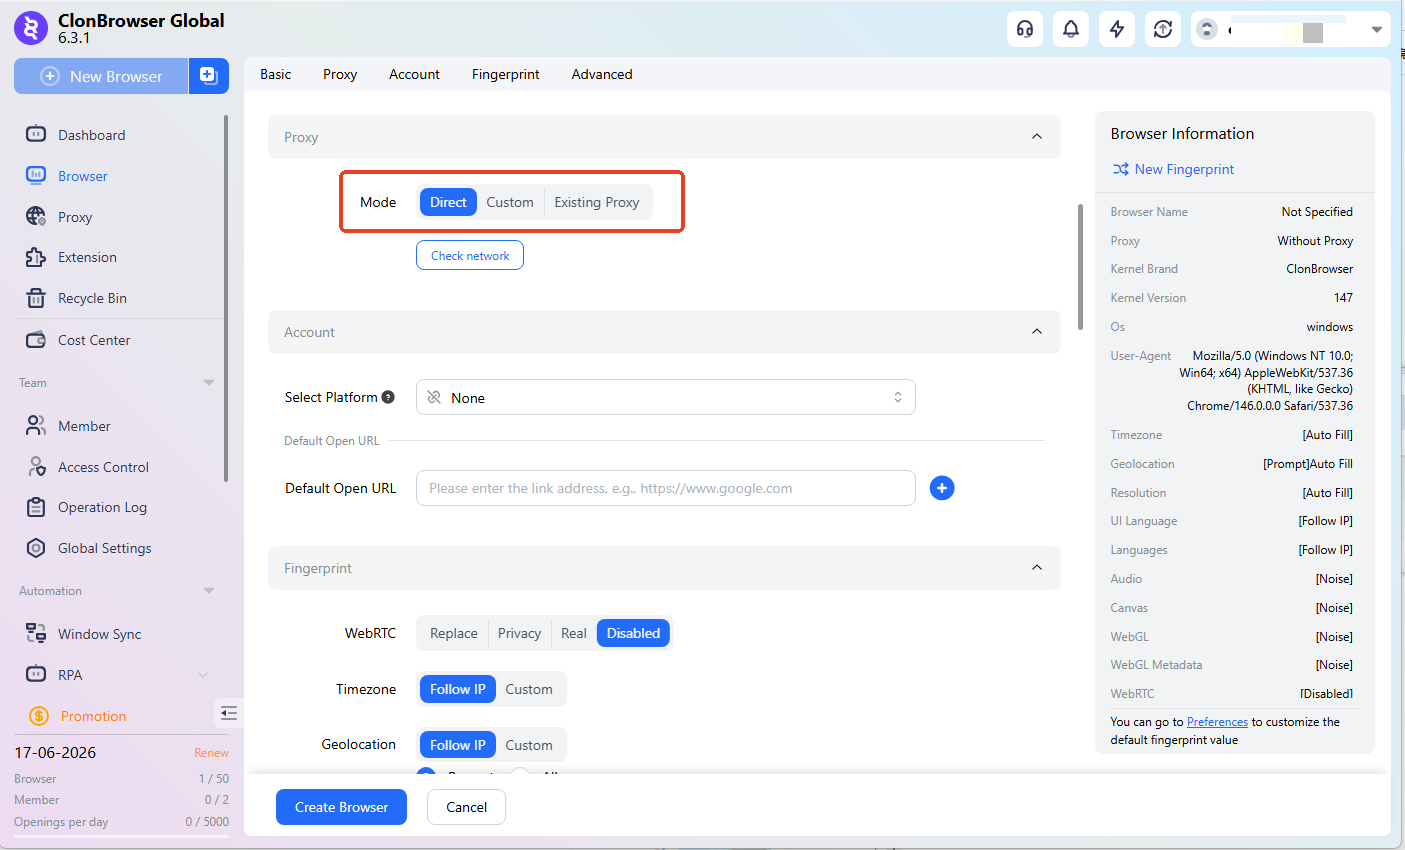
- Configure Proxy For multi-account use, you typically need to configure an independent environment + independent proxy for each account. If you don’t have a proxy yet, you can select 「Direct Connection」 and reconfigure later.
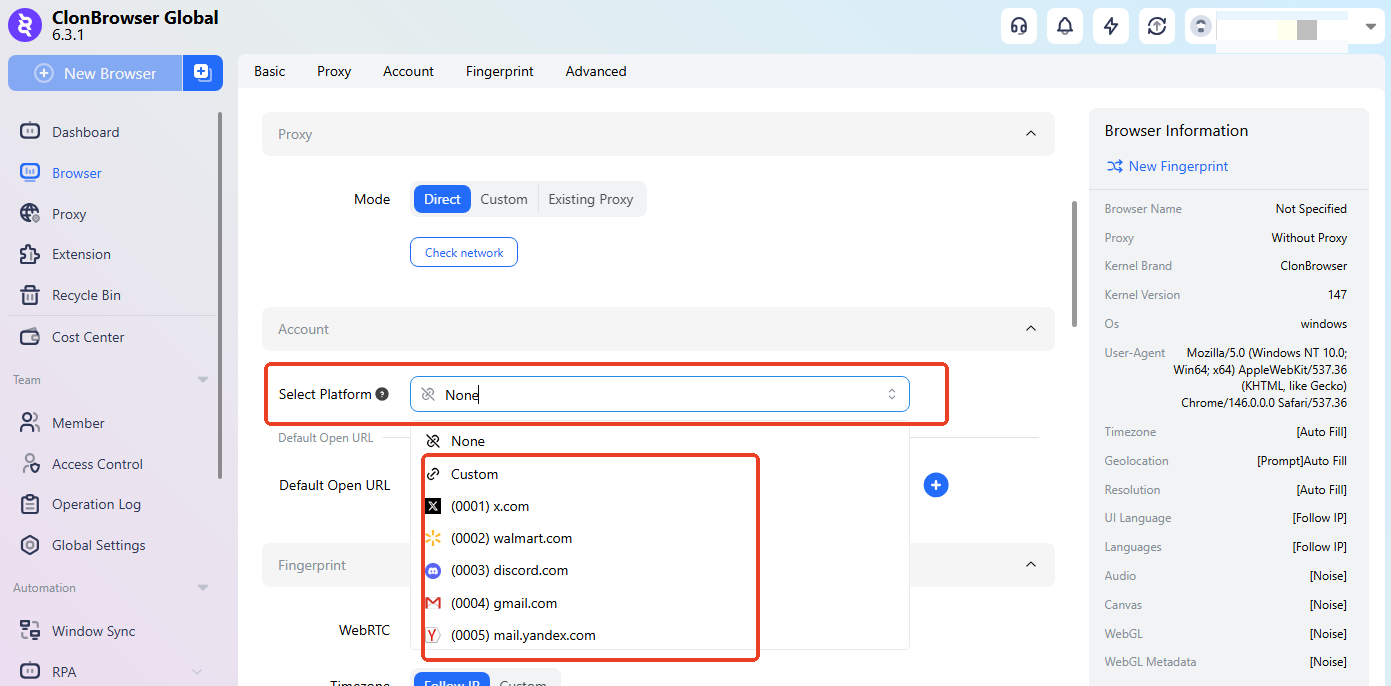
- Add Account Set the platform you want to access. If you can’t find your platform, you can select 「Custom Platform」.
-
Fingerprint Settings This part is relatively complex. Usually no modification is needed after setting up the proxy. Beginners can skip this for now. Interested users can click the link below: Browser fingerprint configuration guide
-
Click 「Create Configuration」 at the bottom to finish creating.
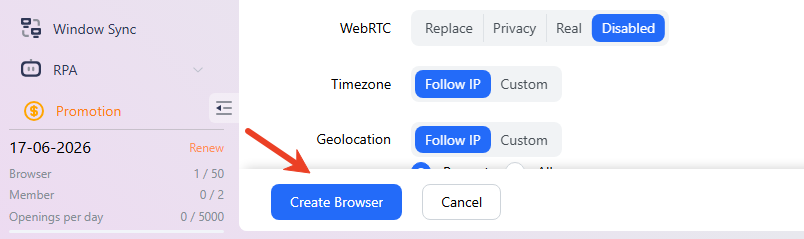
Step3 Launch the Browser and Log In#
- Launch the created browser environment.

- Access the target website in the opened browser.
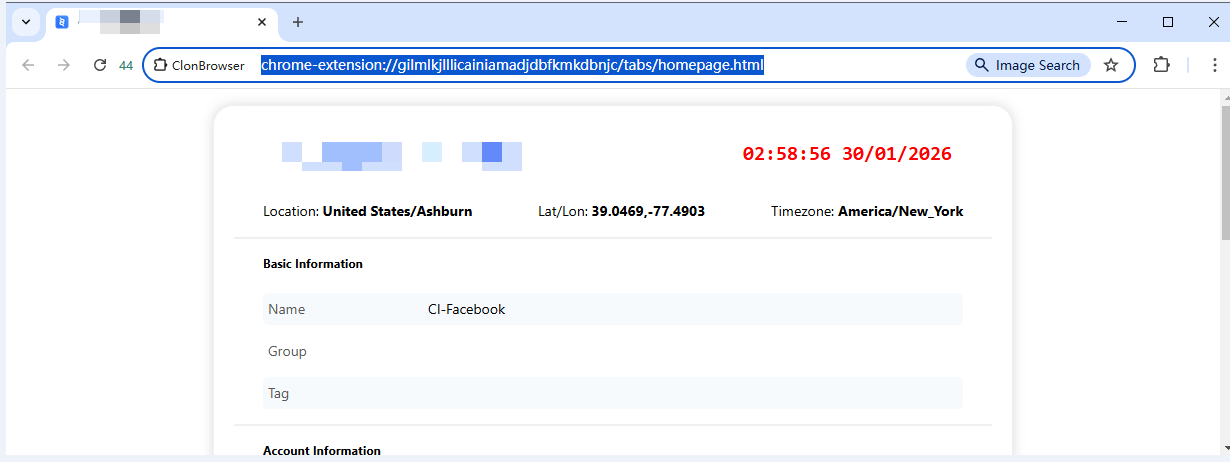
- Log in to your account and start operating.
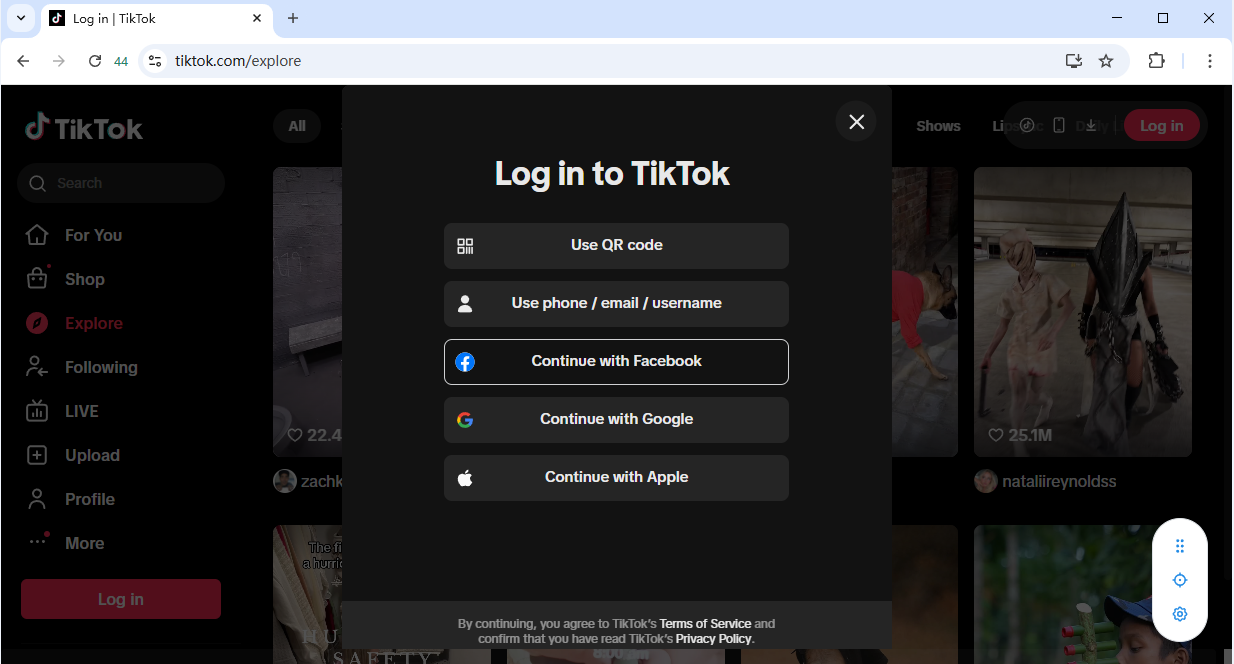
That’s it — you’ve completed the basic usage of ClonBrowser.
Can I log into multiple accounts in one environment?#
Technically possible, but not recommended. In multi-account management scenarios, creating independent environments for different account purposes is better for long-term management and automation.
Next Steps: Business Scenarios#
Next, you can: Go to How to manage multiple accounts to learn how different businesses manage multiple accounts.
Go to Business scenarios and practical guides to learn more advanced tips.